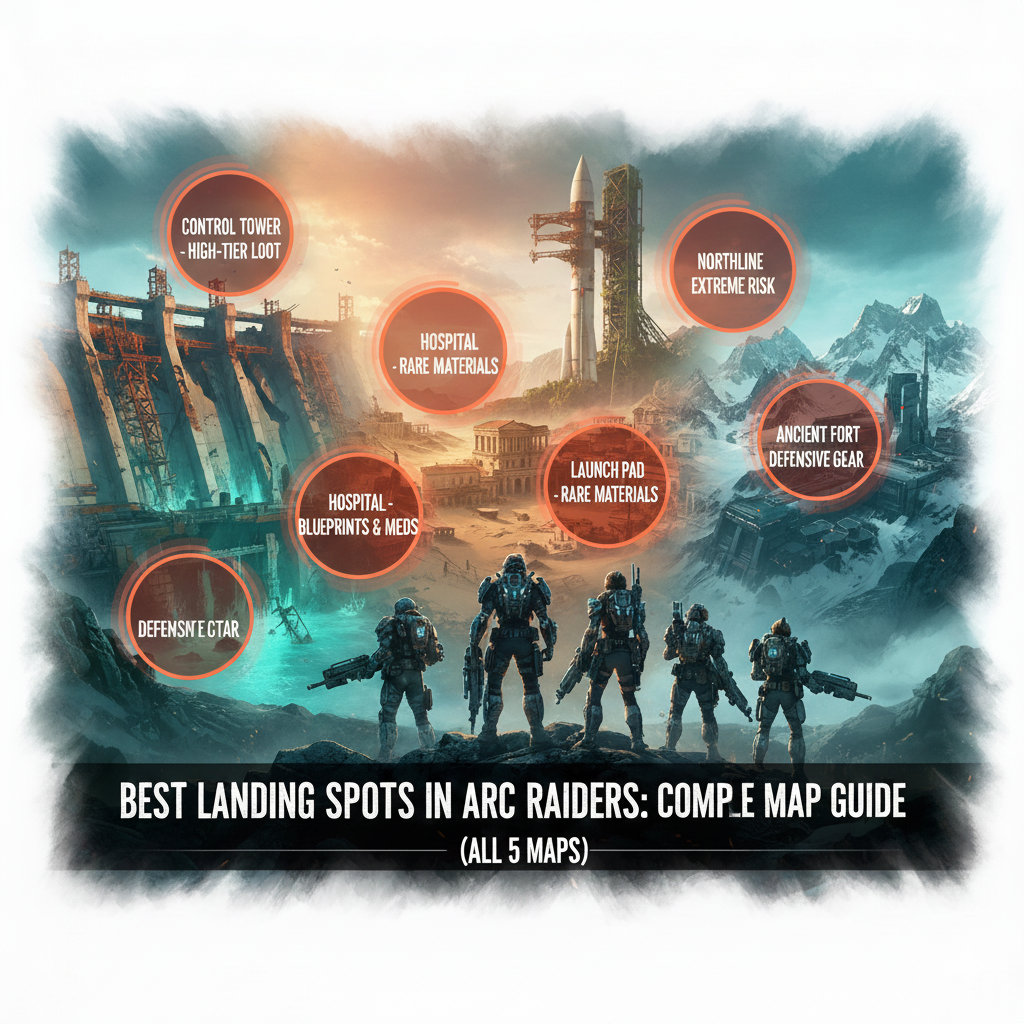
Finding the right landing spot can make or break your raid in ARC Raiders. Whether you want high-tier loot or safe zones to build your inventory, this guide will show you the best places to land on every map.
Understanding Loot Zones
Before we dive into specific locations, you need to understand how loot works in ARC Raiders. The game uses a color-coded system to show loot quality:
Yellow Zones – Medium-tier loot with good items but lower risk Red Zones – High-tier loot with the best weapons and blueprints, but expect more players and dangerous ARC enemies
The best containers include weapon cases, breach rooms, and security lockers. These spots give you the highest chance of finding rare blueprints and epic-tier gear.
Dam Battlegrounds: Perfect for Beginners
Dam Battlegrounds is the first map most players see. It offers excellent learning opportunities with balanced risk and reward.
Top Landing Spots
Hydroponic Dome Complex (Northwest Corner) This is one of the safest high-value spots on the map. You can land near the Pattern House spawn point, run downhill to the Hydroponic Domes, and loot quickly. The area contains valuable scrappy upgrades like mushrooms, weapon cases, and components. Extract from South Swamp for a quick and safe exit.
Control Tower and Research Building (Center Map) These two buildings sit next to each other and offer the best military-grade loot on Dam. You will find weapons, blueprints, weapon parts, and rare components here. The risk is higher because many players head here first, but the rewards are worth it.
Water Treatment Control Located near the Control Tower, this spot has military, tech, and industrial items. It is less crowded than the Control Tower but still offers great loot.
Dam Strategy Tips
Start at the industrial complex for quick early loot, then move toward the dam structure for high-value items. Southern extraction points are safer and less contested.
Buried City: Dense Loot in Dangerous Streets
Buried City is packed with loot but filled with aggressive ARC enemies like Bombardiers, Bastions, and Rocketeers. You need to move carefully here.
Best Landing Zones
Space Travel Building (Center Map, Above Marano Park) This is possibly the best single loot location in Buried City. The building is large, dense with containers, and tied to many quests. You will find weapon cases, blueprints, and valuable materials throughout multiple floors.
On the 6th floor, there is a breachable room that acts like a locked room. You do not need a key – just breach the door. Inside, you will find trinkets, weapon attachments, and useful materials.
Hospital (North of Space Travel) Perfect for medical items and general loot. The Hospital spawns everything from basic bandages to valuable healing items and components.
West Village Houses (Below Piazza Roma) These outer houses are some of the safest loot spots in Buried City. One house has two weapon case spawns inside. To the east, a larger structure has three more weapon cases. These are all outside high-loot zones, so they are hidden from PvP players.
North Morano Station On the north side of the station, you will find a breachable door with a small room. Inside are weapon cases, utility crates, and high-value breach containers. Climb to the roof for another weapon crate spawn, and check slightly east for a third one.
Buried City Safety Tips
The cramped buildings and tight corridors make sound travel far. A single container opening can alert nearby players. Check outer areas and houses for safer looting away from the crowded center.
Spaceport: High Risk, Highest Rewards
Spaceport offers the most concentrated high-tier loot in the game, but expect intense competition from both players and ARC machines.
Premium Landing Spots
Launch Towers (Top Priority) The Launch Towers are S-tier loot locations, especially during special events. They offer condensed, high-quality loot on both top and bottom floors.
For solo or safe play, start at the base of the Launch Towers. The underground section is darker and quieter with fewer enemies. You will find decent containers and materials without heavy combat.
For maximum rewards, zipline to the tower tops. Expect Rocketeers, explosive Rollers, and other players. Bring medium or heavy weapons and watch zipline access points for ambushes.
Departure and Arrival Buildings (Southwest Area) The Arrival Building’s southwestern roof is accessible by ladder and safer than main entrances. You can find weapon cases, medical duffels, grenade cases, and ammo. Breach rooms on ground and second floors are high-yield but more contested.
Fuel Lines (West of Launch Towers) Most players miss this spot. In the industrial trench west of Launch Towers, look for a vertical pipe standing upright near the center. This pipe can spawn weapon crates that many players simply do not know about.
Vehicle Maintenance Located between Fuel Lines and Control Tower A6, this is one of the safest blueprint spots on the map. It sits slightly off main traffic corridors. Check the breachable rooms for weapon cases and high-tier containers.
Control Tower A6 and Container Storage (Southeast) These areas offer high-tier items similar to the Launch Towers but with different enemy patterns. Good for alternative routes when towers are too hot.
Spaceport Strategies
Solo players should stick to underground sections and outer buildings. Squads can push Launch Towers for maximum loot but need good coordination and firepower.
Blue Gate: Massive Map, Central Bunker
Blue Gate is the most difficult map to approach. It is massive, open, and crawling with ARC enemies across wide fields and mountains. Most spawn points drop you far from main loot zones.
Key Landing Areas
Central Underground Bunker (Lower Red Floors) This is where the real value begins. The best loot density is on the bottom floors, especially near red-tier rooms. Enter from side or back tunnels instead of the main gate to avoid Bastions and flyers.
The main entrance is risky, but enemies are not overly aggressive if you keep distance. Once inside, the bottom floors hold the best containers.
Highway Collapse (Quest Location) Many players visit for the “Reduced to Rubble” quest but leave without checking the area thoroughly. To the east, a bus has a weapon crate spawn and medical supplies underneath. On the west side, grab bags and utility crates from the underside, plus two ammo crates at the end.
Warehouse Complex Vents These vents are tucked away from usual player routes. With the right angle, you can land directly on the vents via zipline and loot without dropping into chaos below. It is a great low-risk pickup during early rotations.
Blue Gate Tips
Long travel times from spawn are your biggest challenge. Plan your route before landing. The central bunker is your main target, but Highway Collapse and warehouse vents offer safer alternatives.
Stella Montis: Underground High-Stakes Farm
Stella Montis was the first new map added after launch. This underground research facility carved into the mountainside offers completely different gameplay.
Must-Visit Locations
Assembly Workshop This spot is high-risk but worth it for PvP and loot. Two rocket thrusters can be breached – one requiring parkour, another accessible by simple jump. Inside you will find Exodus modules, epic materials, and purple-tier items.
Security Checkpoint (East Side of Lobby) This multi-level breachable loot area has abundant containers across four full floors. Every entrance requires breaching, so the whole space is flagged as high-value. Higher PvP risk but great rewards throughout.
Medical Research (Far West, Beneath Assembly) This location has it all – medical items, weapons, components, and more. It is filled with containers both big and small. The area is heavily trafficked and dangerous, but it is a steady source of rare and valuable items.
Lobby (Calmer Alternative) While unassuming, the Lobby has a good chunk of containers that can yield valuables. Most players rush to red zones immediately, so the Lobby often remains untouched. It is a calmer place to gather loot safely.
Stella Montis Movement Tips
Metal floors carry sound far – move quietly. Team up against Shredders when possible. Do not explore alone unless you are confident in your combat skills.
Universal Landing Strategies
These tips work across all maps to maximize your success:
Study Before You Drop Open your map before landing. Choose your landing zone based on spawn location. Decide which loot areas to visit first and plan your extraction route early.
Start Broad, Then Focus Hit weapon cases first for combat readiness. Gather crafting materials as you move between locations. Save detailed container searches for when you feel safe.
Know Your Extractions Always know where the nearest extraction point is. Mark enemy locations mentally. Share information with teammates in squads.
Loot Everything Early Every container gives 200 XP and has a chance for rare items. Common materials like fabric and rubber can be ignored if your inventory is tight.
Time Your Entry If you spawn at 29 minutes, you have better chances of reaching locked rooms first. If you spawn at 20 minutes, those rooms are probably already looted – adjust your strategy.
Use Night Raids Night Raids provide significantly better loot from high-tier areas and more keys. The extra risk brings greater rewards.
Hidden Gems Across All Maps
These lesser-known spots offer high value with low player traffic:
Santa Maria Stash House (Buried City West) West of Santa Maria Houses is a small building most players ignore. It is filled with high-value trinkets and can net you around 30,000 currency per run. You can complete this with a free loadout in under 10 minutes.
Creek Near Control Tower (Dam) This overlooked creek outside Control Tower perimeter contains scattered weapon cases and component boxes. It is a short detour that pairs well with Control Tower routes.
Maintenance Tunnel (Dam) A narrow corridor with environmental cover and mid-tier loot. Expect weapon cases, utility boxes, and rare crafting materials. Moderate ARC patrols but multiple exit paths.
Santa Maria’s House (Buried City) Check for lockers and weapon cases here, including rare rusted gear and attachments.
Crown Building South of Highway (Buried City) This crown-marked building has a breachable door. Inside are safes, cabinets, and duffel bags – great for attachments and valuables.
Parking Garage Basement (Buried City) Hidden raider camp with weapon cases and valuable loot. Enter through breachable door or use snap hook through window.
Safe Loadout Recommendations
Always carry a Safe Pocket augment – It ensures important loot is extracted even if you die. Never hunt for valuables without it.
Bring breaching tools – Many of the best spots require breaching doors. Come prepared or you will miss the best containers.
Pack medium or heavy weapons for contested areas – Launch Towers, Control Tower, and Medical Research need firepower to handle groups of enemies and potential PvP.
Final Tips for Success
Every map has a perfect loot spot for every objective. Whether you need a safe cash run at Santa Maria, want to farm components at Hydroponic Domes, or are hunting the best Spaceport loot, there is a spot for your playstyle.
Start with Dam Battlegrounds to learn mechanics. Move to Buried City when you are comfortable with combat. Take on Spaceport and Blue Gate when you want maximum rewards. Try Stella Montis for intense underground battles.
Knowledge is your greatest advantage in ARC Raiders. Master these landing spots and you will fill your bags faster, survive longer, and extract with the best loot every time.
Good luck, Raiders!